Quick Start Guide
Overview
This guide will instruct you how to connect the UI to your MetaRouter cluster and deploy your first integration. You may test with any integration you would like. This process is 8 steps long and should take around 30 minutes to complete. Completing an initial Integration may take longer, due to required collaboration with MetaRouter's Solutions team.
Step 1: Get access to the UI and your Organization
In most cases, we will set up an Organization for you within our UI and send you an invite to manage it. Once you confirm you have access, continue to Step 2.
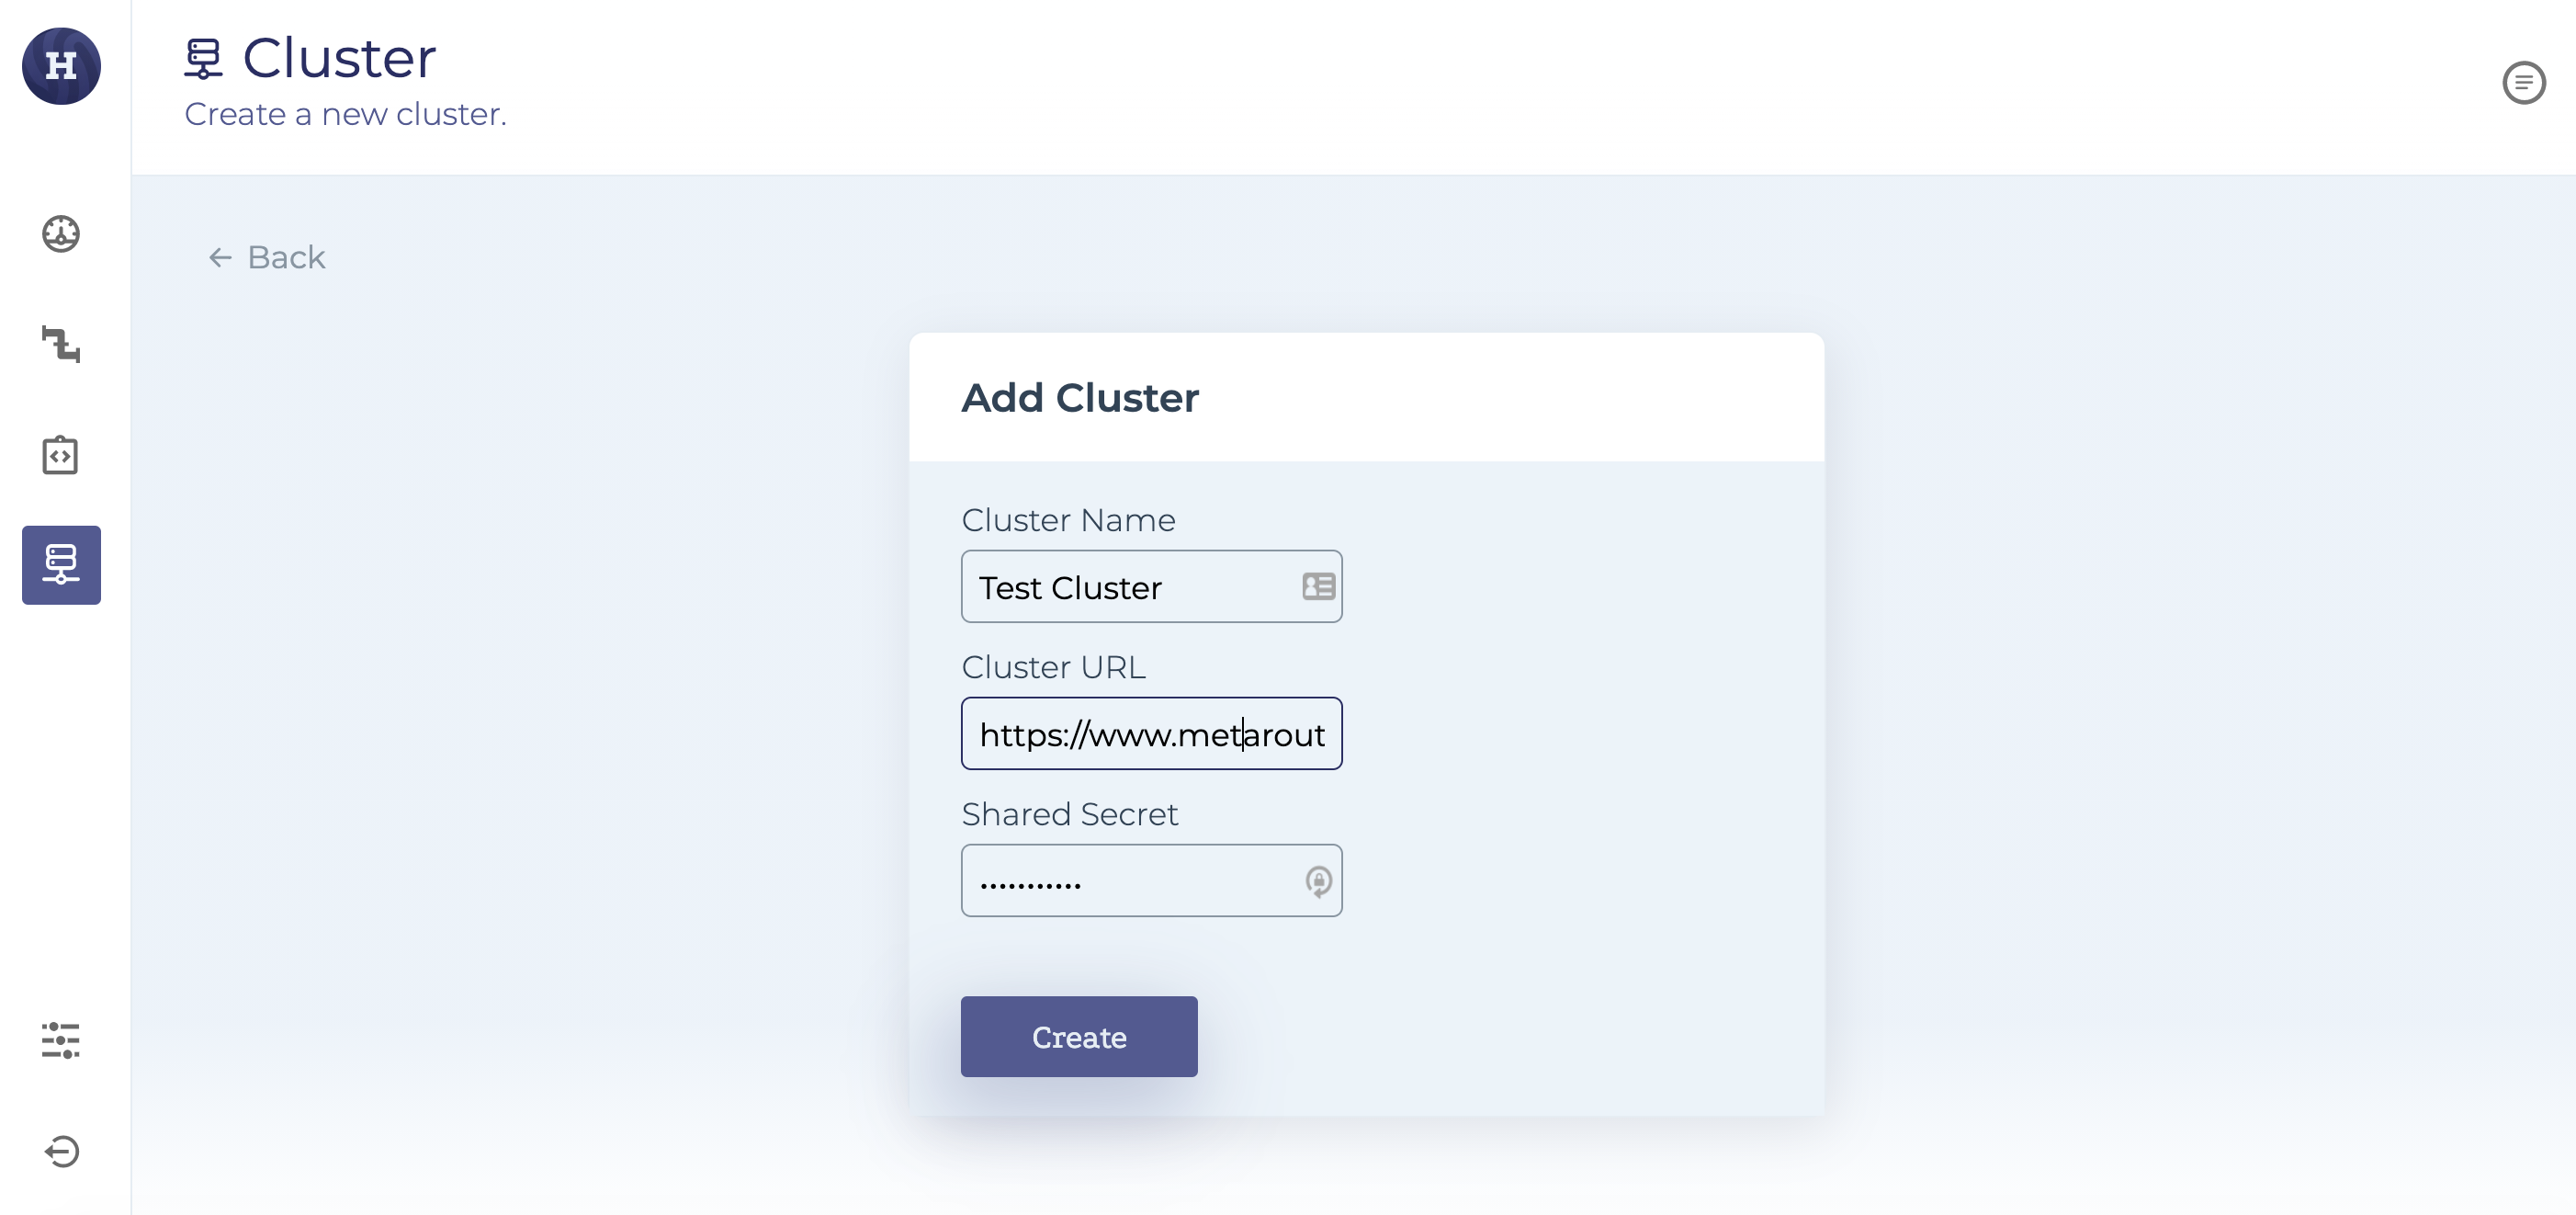
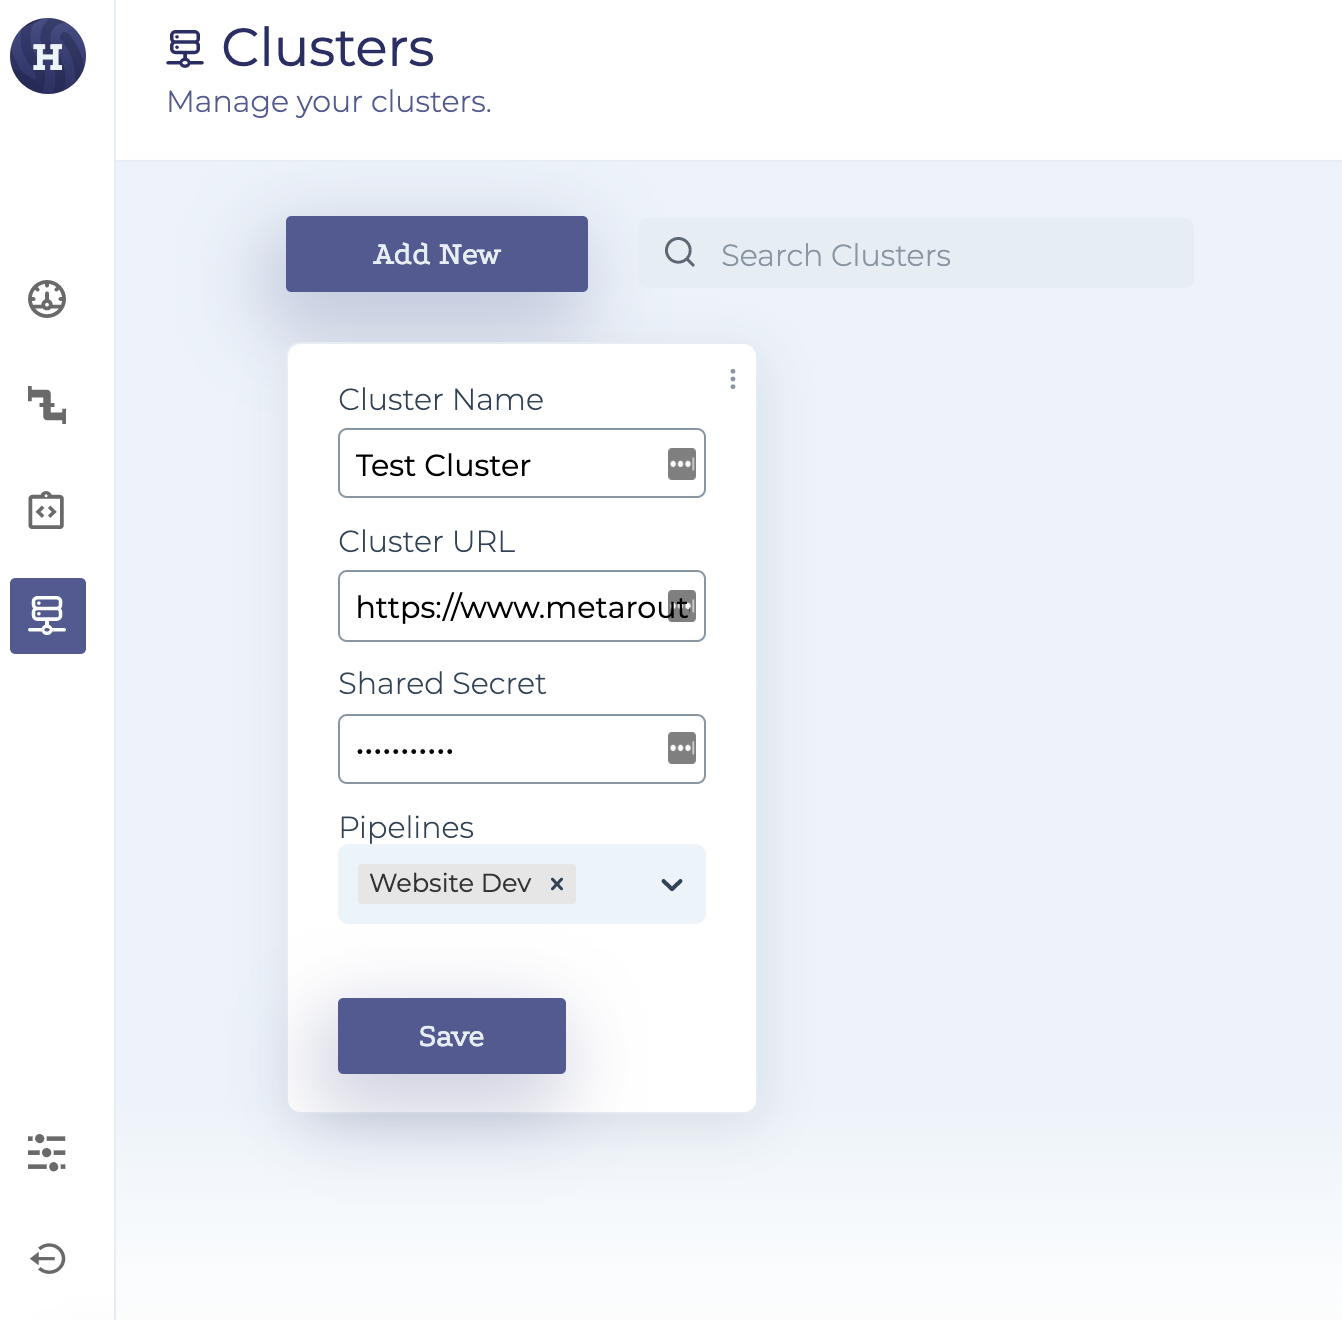
Step 2: Connect your cluster
You should have already followed the steps to create your MetaRouter cluster. Open up enterprise.metarouter.io and enter the Cluster details you should have on-hand:
- Cluster URL
- Cluster Secret
- Give the cluster a friendly name.

If you do not have your Cluster URL or Secret, please reach out to [email protected].
Step 3: Connect your pipeline to the UI
As a part of your MetaRouter platform install, you should have designated a writeKey(s) for us to assign to Pipelines. When you add a Pipeline to the UI, you will enter the writeKey and give it a friendly name. You cannot complete the Pipeline set up quite yet because you need to build your first integration.
After this is completed, you must assign your Pipeline to your Cluster.

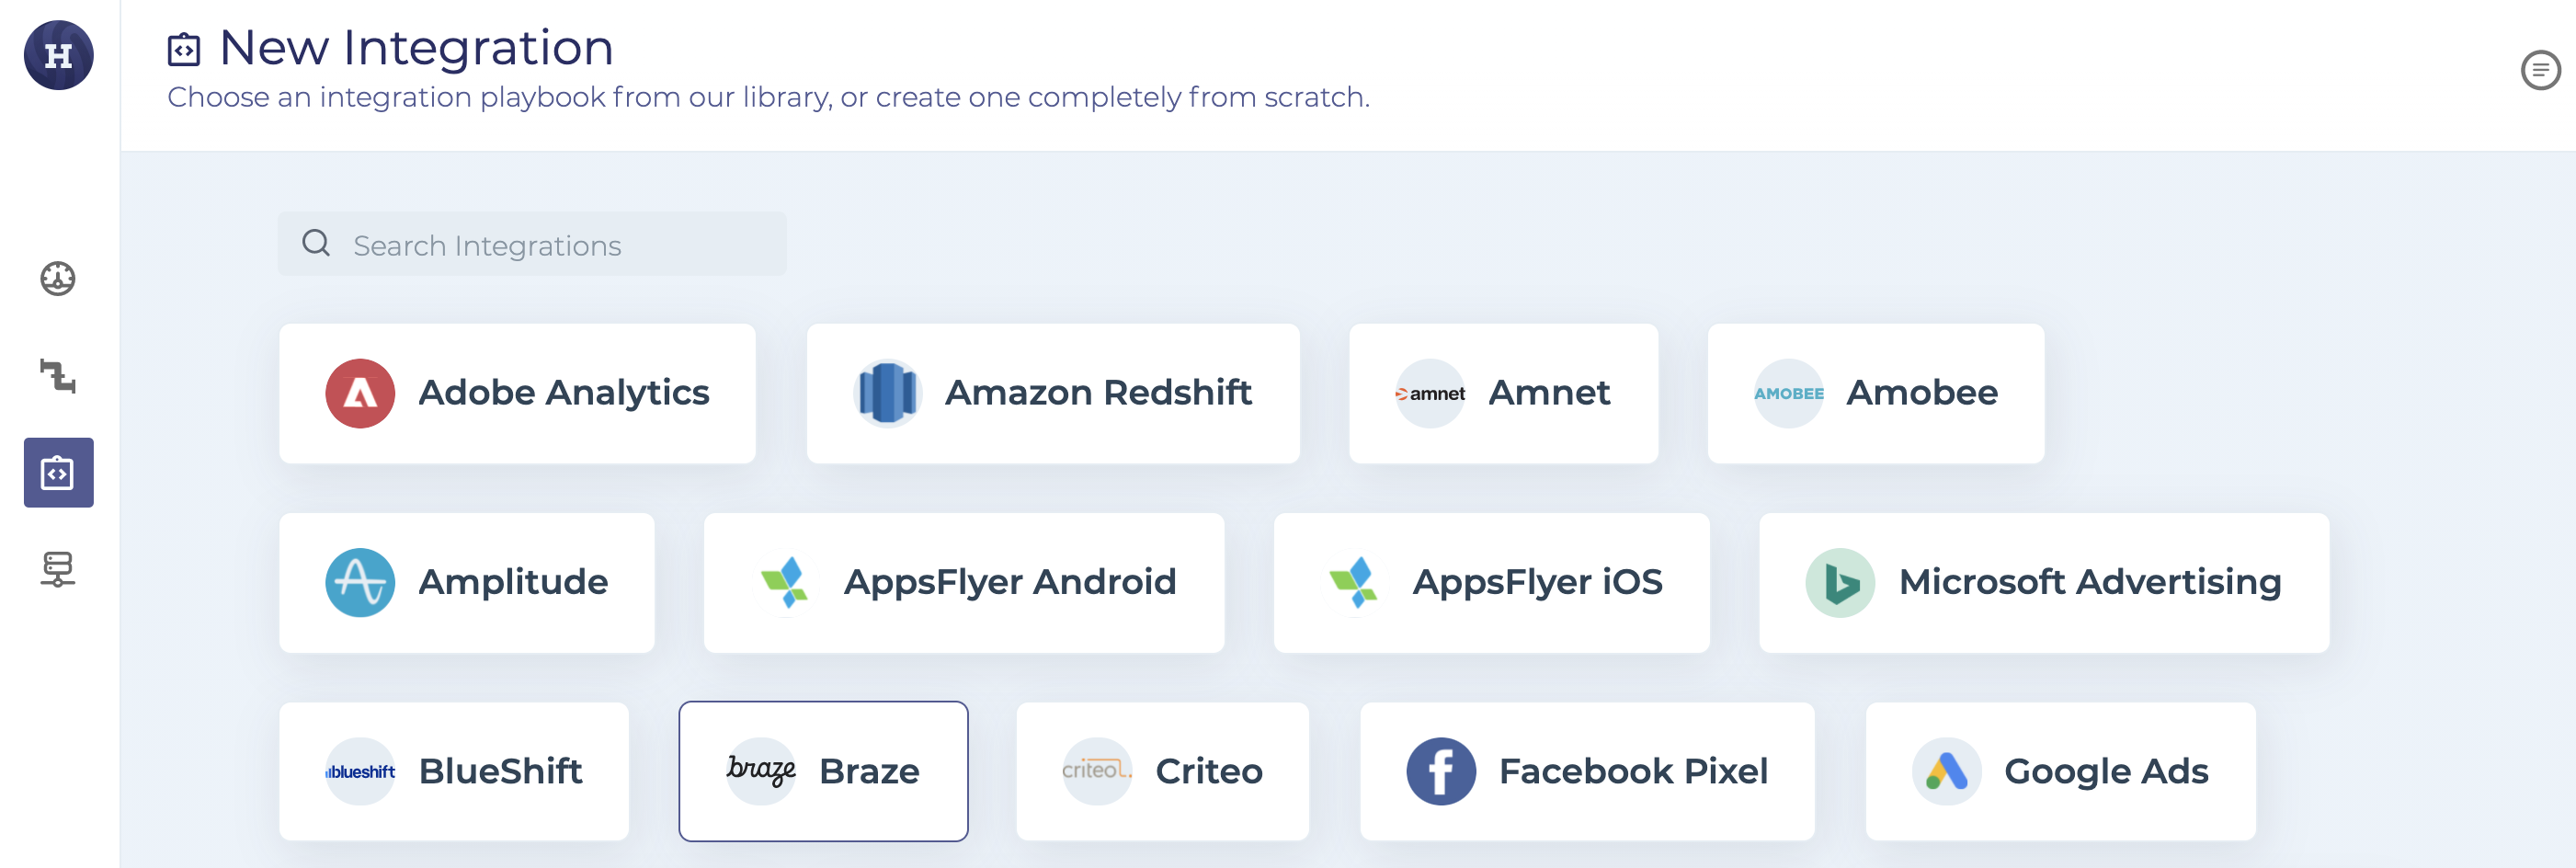
Step 4: Add your first integration
You will need to assign an Integration to your Pipeline, which will receive the data that is produced from the Pipeline's source. Navigate to the Integrations tab to begin, and select an integration from our integrations library.

Once you have found your desired integration, click on it, and add a friendly name. You should also choose the event spec that is most applicable to your event schema. Common specs include e-commerce, B2B, mobile, and video.
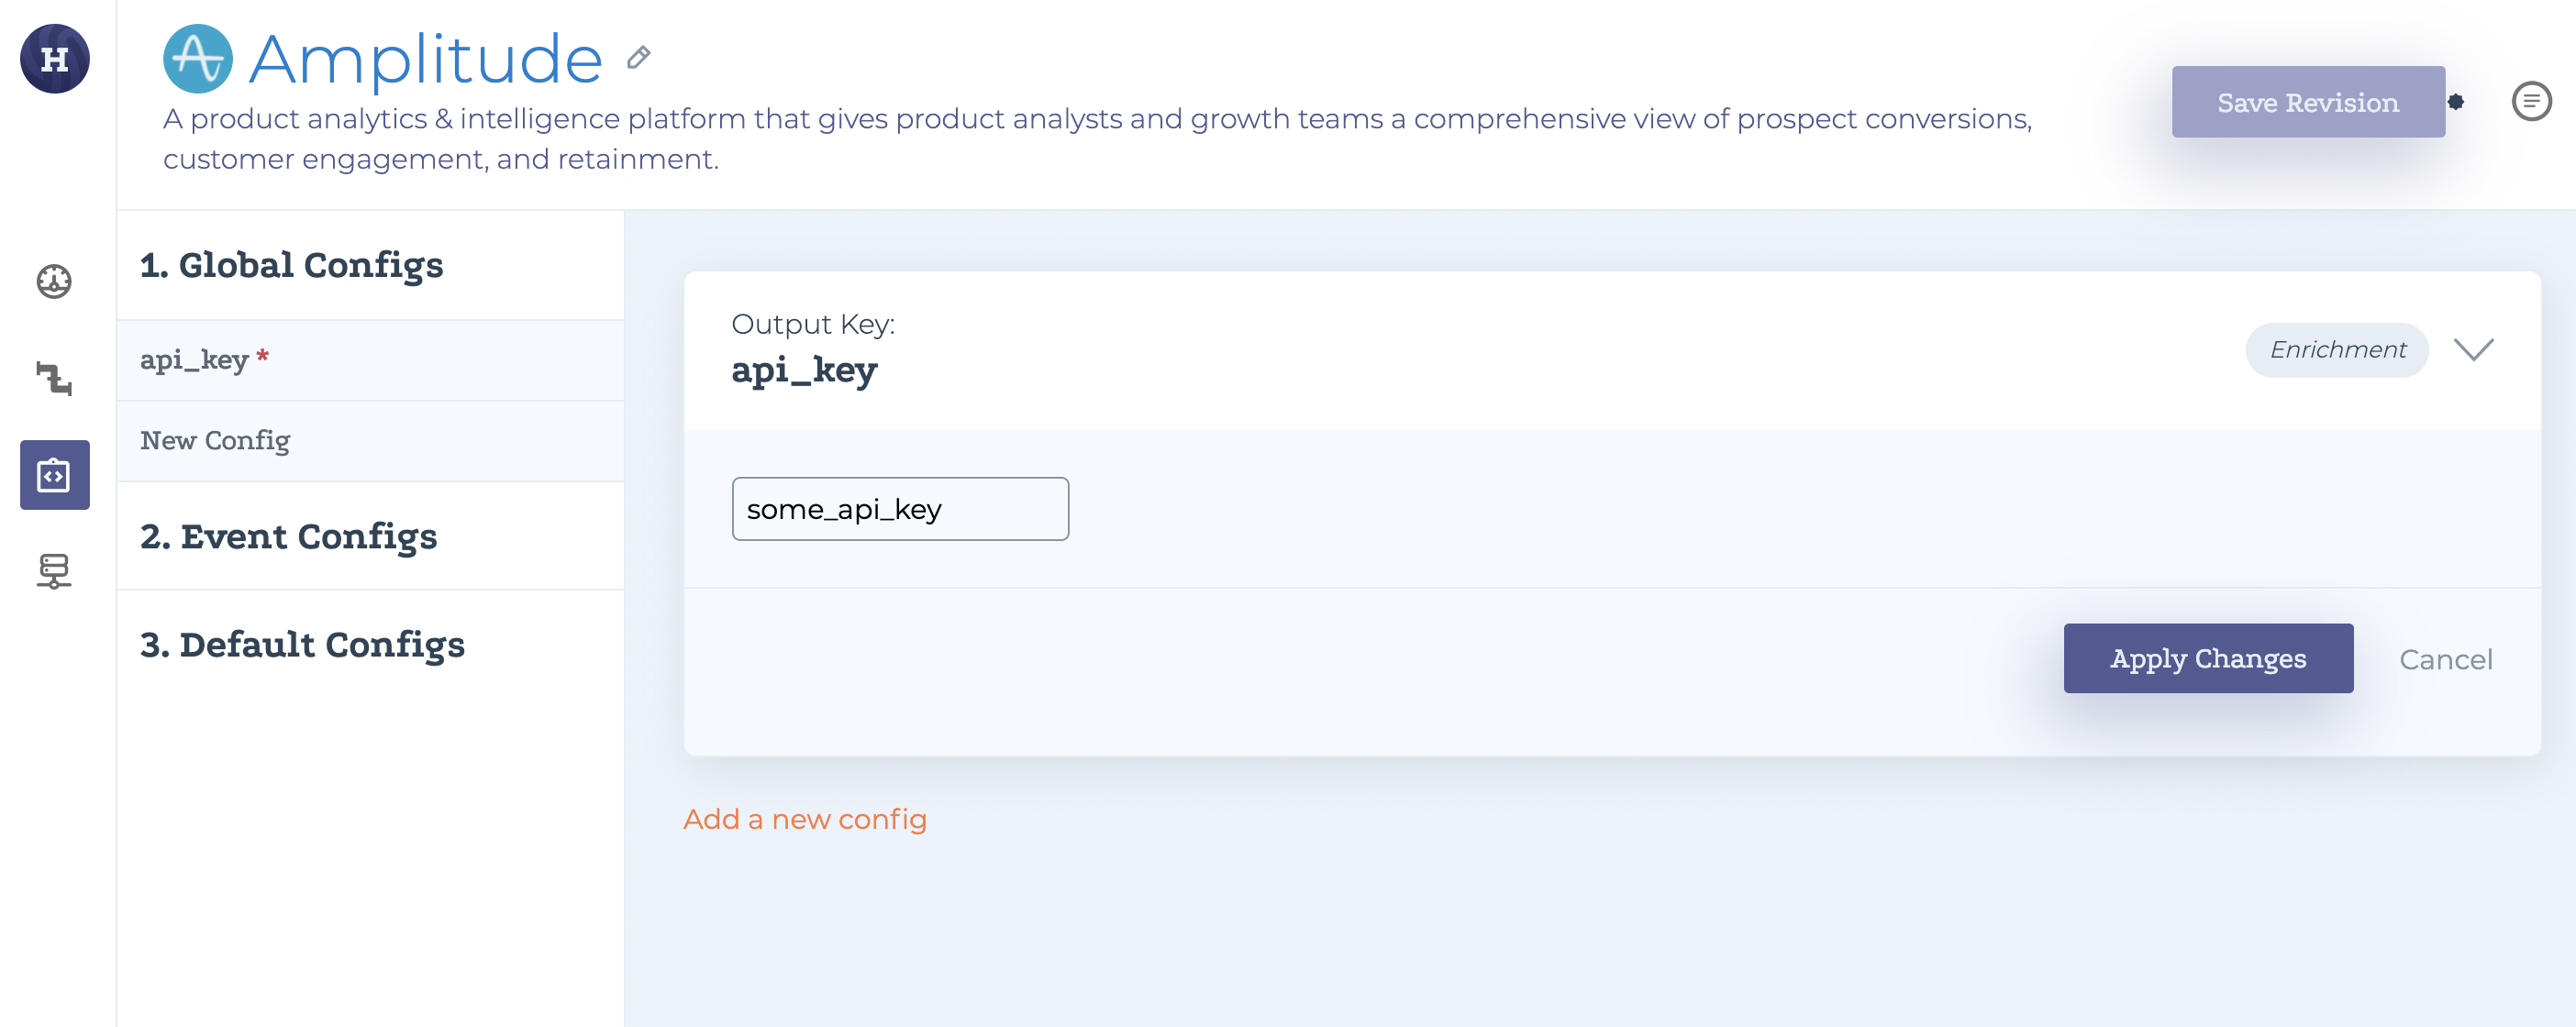
On the next screen, you have a list of available Config options, including Global, Event-specific and Default Configs mentioned above. You must add required fields, located within the Global Configs, in order to send an event to your vendor.

The event spec you choose will determine the events that populate to start- this is helpful for determining which events need to be sent to particular vendors. For some tools, like data warehousing tools or analytics tools, you might have more flexibility regarding the formatting of your output fields.
Step 5: Configure Your Events
For this step, you should have a list of events and objects nested under each event. For each event you want to configure for an integration, you will add an entry as an Event-specific Config. Please reach out to[email protected] to help you with this step, as it is highly important that your data schema is set up correctly in MetaRouter for your integrations.
Once completed, click “Save Revision”. We will save a new integration revision each time you save your integration. You can quickly revert back to a previous revision if you encounter issues.
Step 6: Associate your integration to your pipeline
Now that your integration is set up and should send all events to Amplitude, head back to the Pipelines tab. Select your pipeline, and add the integration. Select your most recent revision and click Save.
Step 7: Deploy your pipeline
From the Pipelines tab, you should now be ready to deploy your Pipeline. Click the Deploy button, and click Deploy again.
You should receive a status code at this point indicating your Deployment's success. If you receive anything other than a 200 Success, please reach out to [email protected] and we will help you troubleshoot your issue.
Step 8: Testing
Finally, navigate to your integration's dashboard where you can, ideally, view your raw events coming through. From here, you should see events populating, assuming your Pipeline's source is actually producing events. If you encounter issues, please reach out to [email protected].
Congrats! You have completed all required aspects of the MetaRouter platform. Continue on for more information about how to customize your integrations' settings.
Updated 5 months ago